Sunday, June 25, 2017

Sending Lots of Love

Hi stampers!
I am back today with set of 4 cards. When I saw the new designer series paper Whole Lot of Lovely, I knew I had to have it, along with the coordinating set. I made few cards using my MISTI tool. It was the only way I could replicate these cards. 
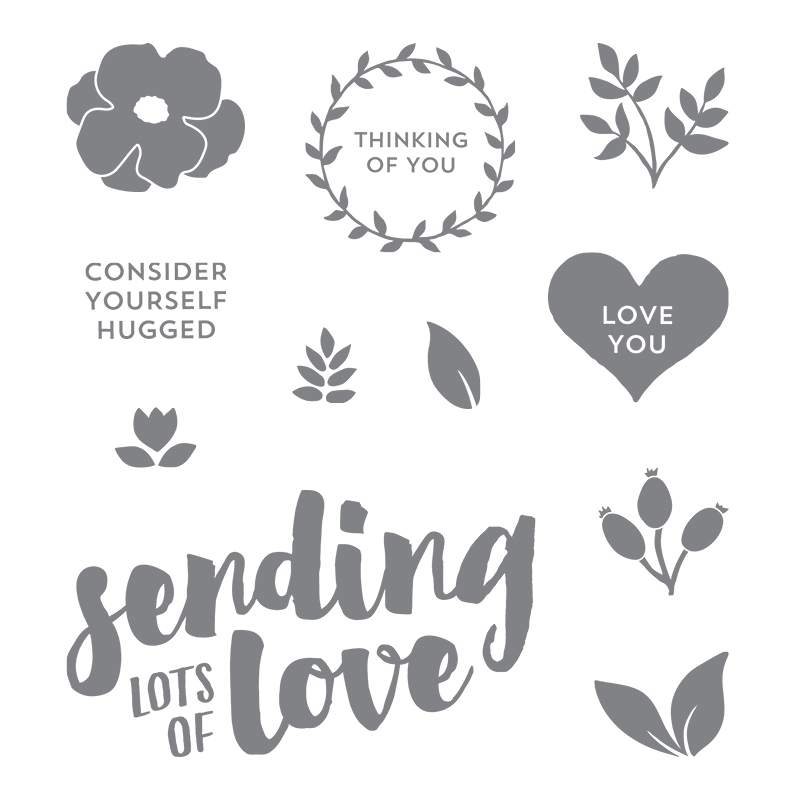
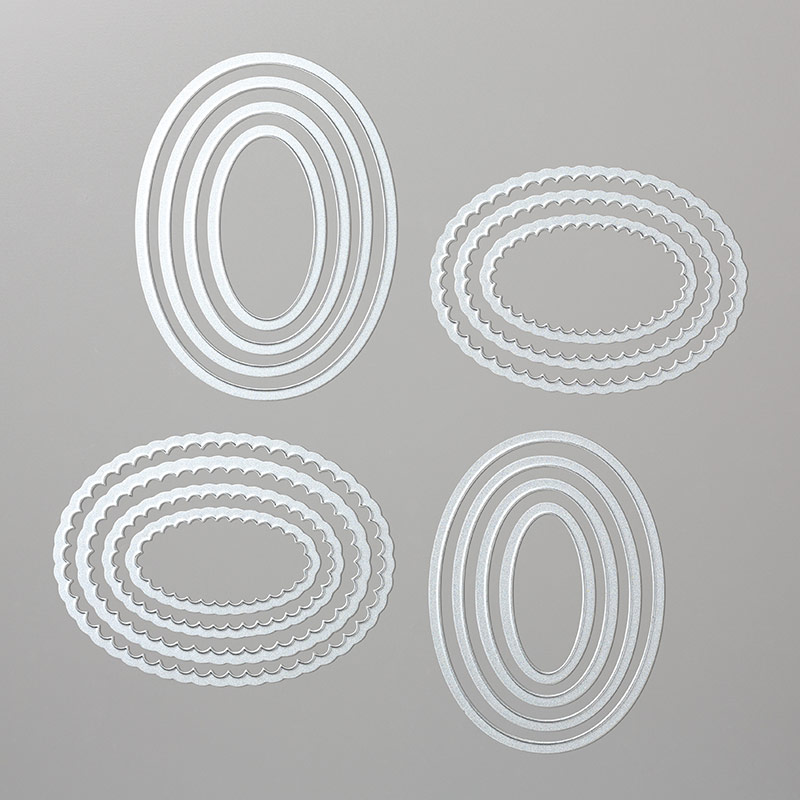
What I did first I stamped the sentiment onto a piece of velum ( 4 1/4" x 5 1/2") and layered it on top of same size whisper white panel where I was going to stamp my images. The vellum piece served me as a guide where to position my images. After I stamped all the images, I lined up the sentiment on the top of the vellum, in order to be at the same position as we "imagined" and stamped the sentiment on all 4 cards using Versagine black ink and then embossed with clear embossing powder. When I was done I die cut the images using the oval framelits and adhered onto the piece of dsp and then adhered to Basic Black card base. 


MISTI
MISTI
Shop at:
MSP
Lots Of Love Clear-Mount Stamp Set
Shop at:
SU!
Lots of Love Wood mount stamp set
Shop at:
SU!
Layering Ovals Framelits Dies
Shop at:
SU!
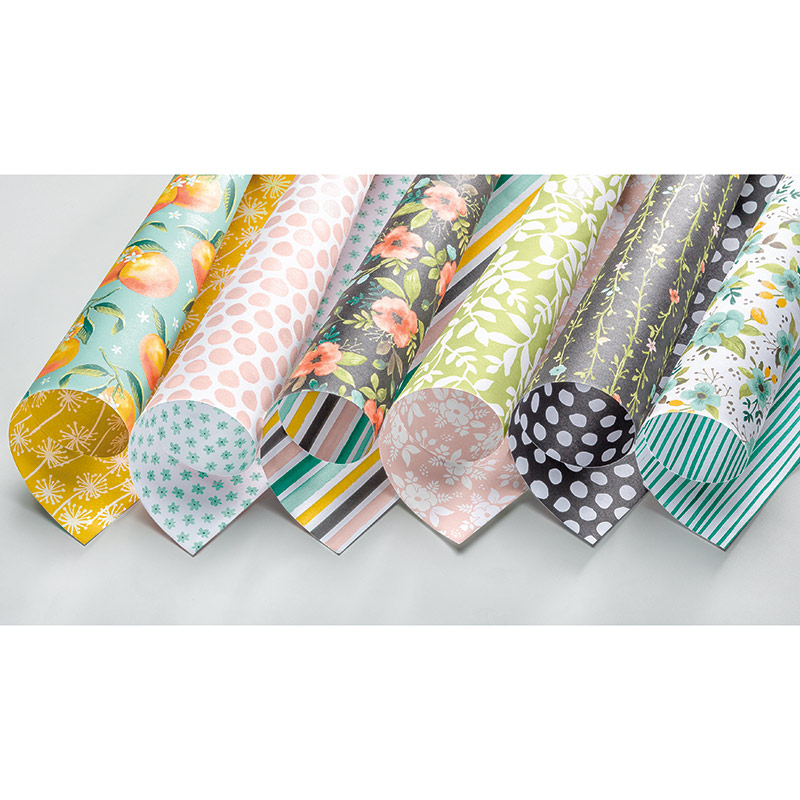
Whole Lot of Lovely Designer Series Paper
Shop at:
SU!
Pool Party Classic Stampin' Pad
Shop at:
SU!
Tangerine Tango Classic Stampin' Pad
Shop at:
SU!
Pear Pizzazz Classic Stampin' Pad
Shop at:
SU!
Crushed Curry Classic Stampin' Pad
Shop at:
SU!
Soft Suede Classic Stampin' Pad
Shop at:
SU!
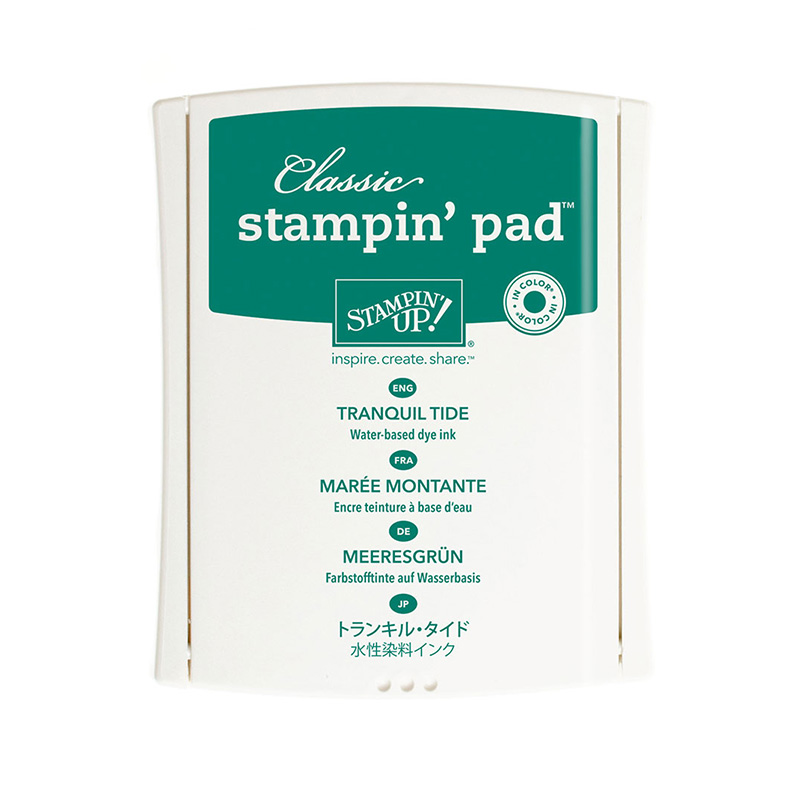
Tranquil Tide Classic Stampin' Pad
Shop at:
SU!
Whisper White Cardstock
Shop at:
SU!
Basic Black  Cardstock
Basic Black Cardstock
Shop at:
SU!
Versafine Ink Pad - Onyx Black
Shop at:
AS | AZ

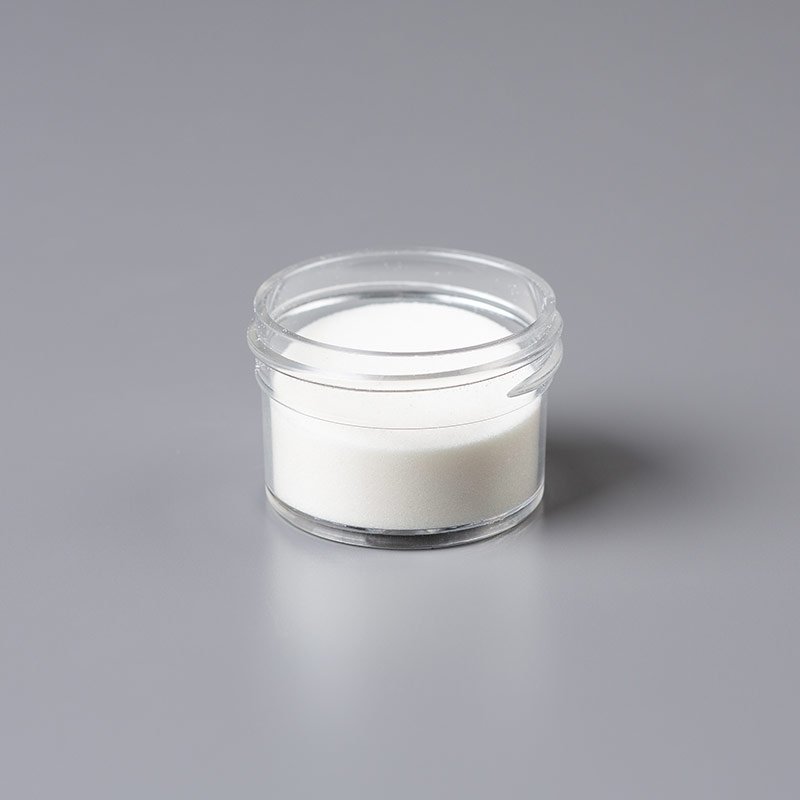
Clear Stampin' Emboss Powder
Shop at:
SU!
Black Fun Foam
Black Fun Foam
Shop at:
AZ

Friday, June 23, 2017

Summer and Coffee and the Livin' is easy

Hi stampers! 
I have been quiet for little white, we were on vacation in FL with all the kids last week and then as soon as we got back I got some stinky nasty cold. yikes. But I am recovering and back to creating.

I have fun summery card for you today. I decided to participate in the coffee lovers blog hop and I was inspired by Wendy from Sugar Pea Designs to make this card. I used 2 new Stampin' Up! sets : Fabulous Flamingo and Coffee cafe (along with coordinating dies). I stamped the cups first with Soft suede, next I masked around the cups and stamped the flamingos (this way you don't see lines outside of the cups. Then stamped the leaves and the whipper cream and straws. . I stamped the same images onto different piece of whisper white card stock, so I can make the cozies that go around. To cut them out I lined the die cut cups over the stamped images and marked with pencil where I should position the die, next removed the cup and positioned the die and ran it through my big shot! Clear as a mud? I may do a video soon. 

I cut the rest of the images and assembled my card. 
I LOVE how this card turned out! 


Wednesday, June 14, 2017

Happy Birthday Gorgeous


Hi stampers!
Happy Wednesday! Today I am back with couple Stampin' Up! cards. I used the Happy Birthday gorgeous set to make these two cards. I love this set because it's so versatile. I stuck with simple cards. 
I started with a panel of Whisper white card stock that measures 3 3/4" x 5" and stamped the Happy Birthday sentiment using the MISTI tool. I stamped several panels (I made only 2 cards, but I have few more panels with the sentiment left for future use - the beauty of the MISTI tool!)
Next for the circle framed sentiment card I cut a circle using the stitched shaped framelits from sticky note and positioned it over my sentiment. Next I stamped the images (flowers and leaves) all over my panel. (when I stamp multiple images I try to stick with odd number of the same image stamped onto my paper). Next I removed the stikcy note and voila. I used some fun foam to adhere my panel onto Tranquil tide card base. 

For my second card I stamped the images on the sides of the sentiment. For the first step I stamped off on the side, then on the card stock, so I get lighter color. Then for the second step I used full intensity ink pad. (meaning, I didn't stamp off on the side before I stamped onto my card panel). When I was done I adhered my panel onto Lemon Lime Twist card base. 

These cards are so easy to mass produce, so you can make bunch and have on hand for birthdays or any other occasions. 


Wednesday, June 7, 2017

Fear not

Hi Stampers!
Happy hump day! Sorry I haven't posted in a while. After my half marathon I felt pretty tired, so I didn't create much last week. But I am back! 
I know many of you wondered why did I laid low the past year or so, when it comes to SU! In October 2015 my hubby lost his job, in November the same year my mom was diagnosed with stage 4 lung cancer. She had surgery to remove brain tumor (the cancer had spread to her brain). In December I resigned as SU! demonstrator. In January 2016 I traveled to Macedonia with my mom (and my 4 yr old) to take her back there (it was her wish). Then in early March I injured my back. On March 17th 2016 my mom passed away and I wasn't able to go to the funeral due to the injury. I changed jobs (still the same company but different position), even though it was better position, it was still a change. in May/June 2016 I signed back up as a Demonstrator, but I wasn't still up to it. So I laid low. 2016 was just a bad year and I am slowly coming back. I am happy to report that I have recovered from the back injury, as you can see I just ran a 1/2 marathon last week. That was my 2nd one this year, and bunch of 10k and 5k races since August last year. 

I have a pretty simple card for you today, but had a lot of meaning (the sentiment) during all the events of 2016. I added some coloring touch that adds extra interest. 
I used the Rose wonder set and Rose Garden thinlits. I diecut the images from watercolor paper .. Then ink pads and aqua painter I colored the diecuts and adhered them on a piece of white card stock. After that I trimmed it to 4 1/8" x 5 3/8" and stamped the sentiment with Archival Basic Gray ink pad. At the end I just mounted the whole panel onto my Smokey shadow card base. 


Wednesday, May 31, 2017

Happy Birthday - stacked die cuts

Hi stampers! 
I have been moving all my SU! creation to this blog, so it's still kind of under construction. I am trying to transfer as much as possible of my Stampin' Up! creations here. 
Anyway....it's been few busy days with the long weekend and work and kids. But busy is good ;) right? On Monday I ran a half marathon. I fought the good (mind) fight, and I finished the race, and I felt the pain afterwards. It was a good pain though. I thought this was going to be my last half marathon, but I want to do it again. You know, running is addicting, like stamping and creating and does something to the brain that leaves you less stressed and more calm. 
Ok, I bored you enough with running talk ;) 

As I am working my way to transfer my Stampin' Up! creations to this blog, I made a card using the sneak peek items. I just LOVE this large Happy Birthday die! 
I cut 4 die cuts from white card stock and adhered them together, in order to get thicker die cut. Next I dabbed Versamark all over it and poured gold embossing powder and heat set it using my heat tool. Next I die cut each layer for my card, positioning the first layer on top of the second and centering the die to cut it. I did this for all layers.
Next I stamped the background stamp with Versamark and embossed with clear embossing powder. Adhered all layers together, then adhered the sentiment. 
To finish up my card I adhered the panel onto white card base. 


Whisper White Cardstock
Available here:
SU!
Diagonal Stripe Clear-Mount Stamp
Available here:
SU!
Diagonal Stripe Wood Mount Stamp
Available here:
SU!
Versamark Pad
Versamark Pad
Available here:
SU!
Clear Stampin' Emboss Powder
Available here:
SU!
Night of Navy 8.5x11 card stock
Available here:
SU!
Emerald Envy 8.5x11 card stock
Available here:
SU!
Stitched Shapes Framelits Dies
Available here:
SU!
Gold Stampin Embossing Powder
Available here:
SU!
Whisper White Thick Card Stock
Available here:
SU!

Saturday, May 20, 2017

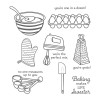
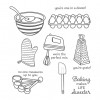
Baking makes life sweeter

Hi stampers!
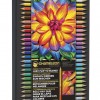
This post is long over-due. I finally finished the video for my Chameleon Pencil review. I was going to post it earlier, then it felt kind of empty to not have a finished card, so I had to add a card. LoL.
Before I move onto the card and video, I wanted to mention that this is not sponsored review and no product have been provided. I purchased the pencils myself from the Chameleon pens website (link below and shipping is free!!! :D)